


After a minor hiccup with my order I am stoked with my tiles. Colour is accurate when compared to online colour. Good instructions for when I start my project.
Excellent company to deal with.
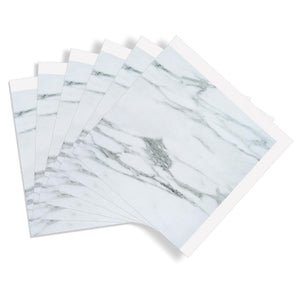
Loved being able purchase a wide range of samples to help Ilya make a decision
This product is a lot more durable than I imagined it would be.
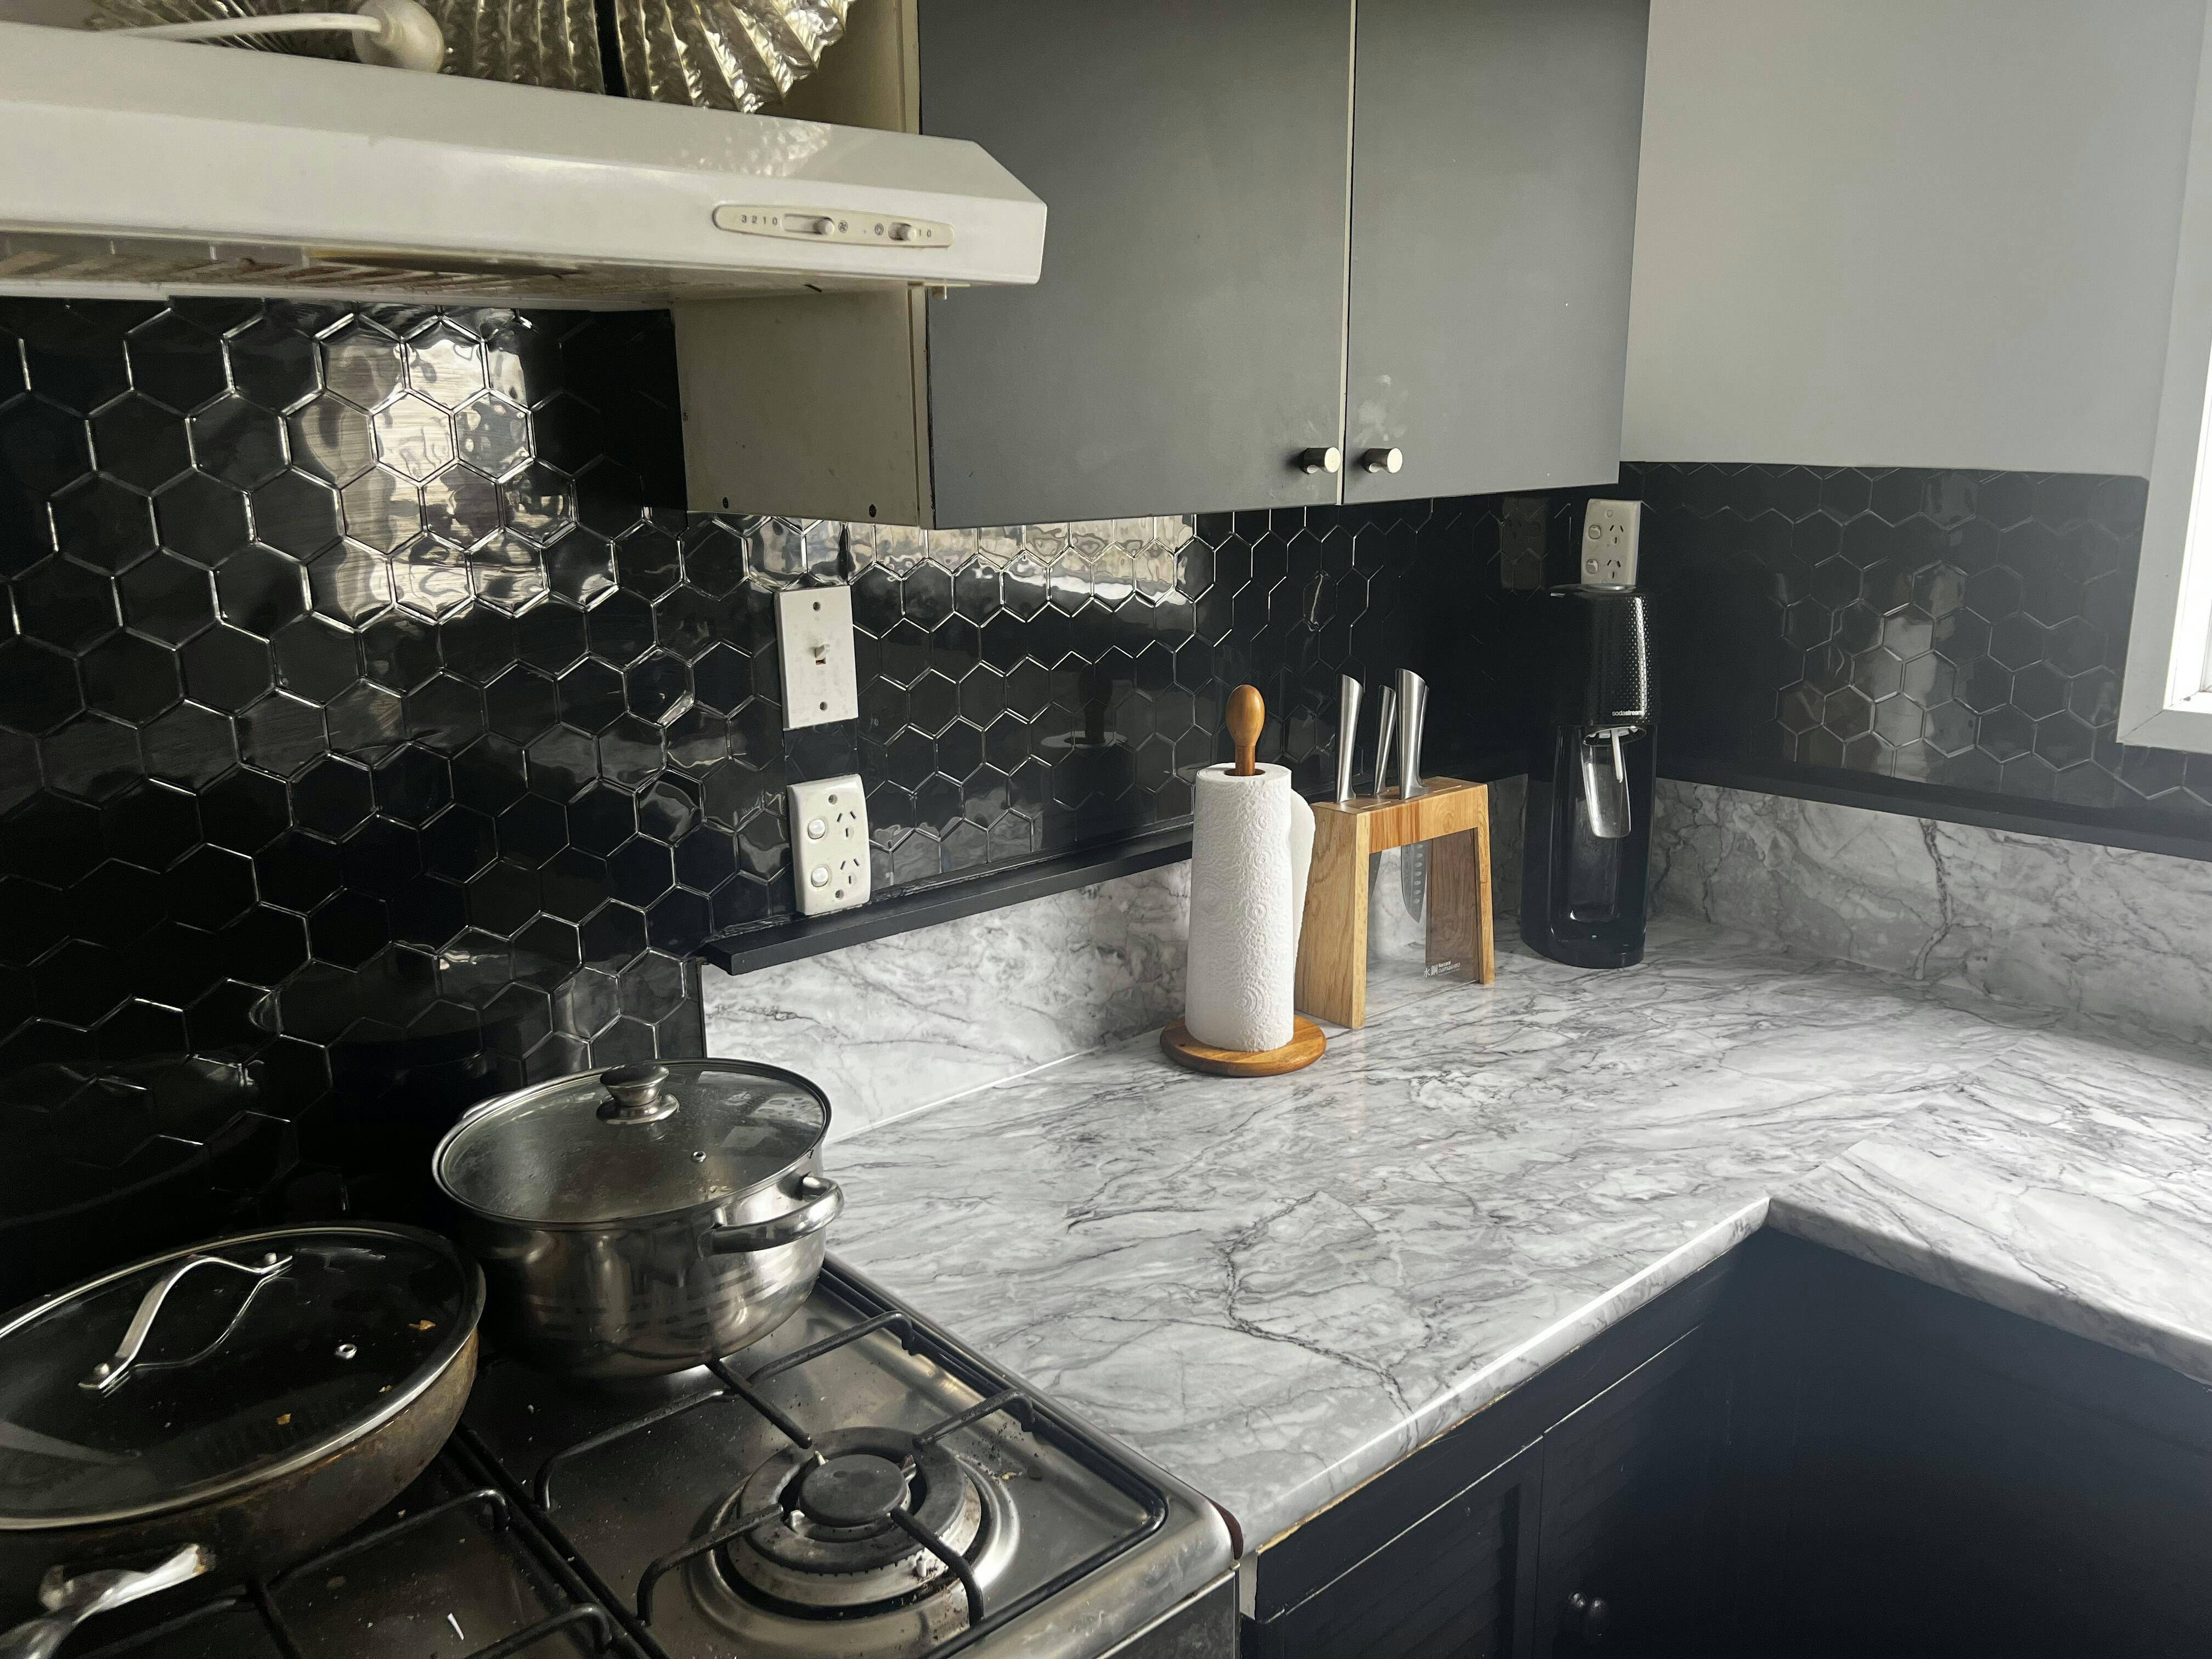
Not having used vinyl before and my only reference being wrapping my school books with dc fix, I am glad I ended up buying the 15m as I had to take off and redo the first bench I did. Once I got the hang of it, it went fairly smooth with the stove and basin obviously being the trickiest bits to wrap around.
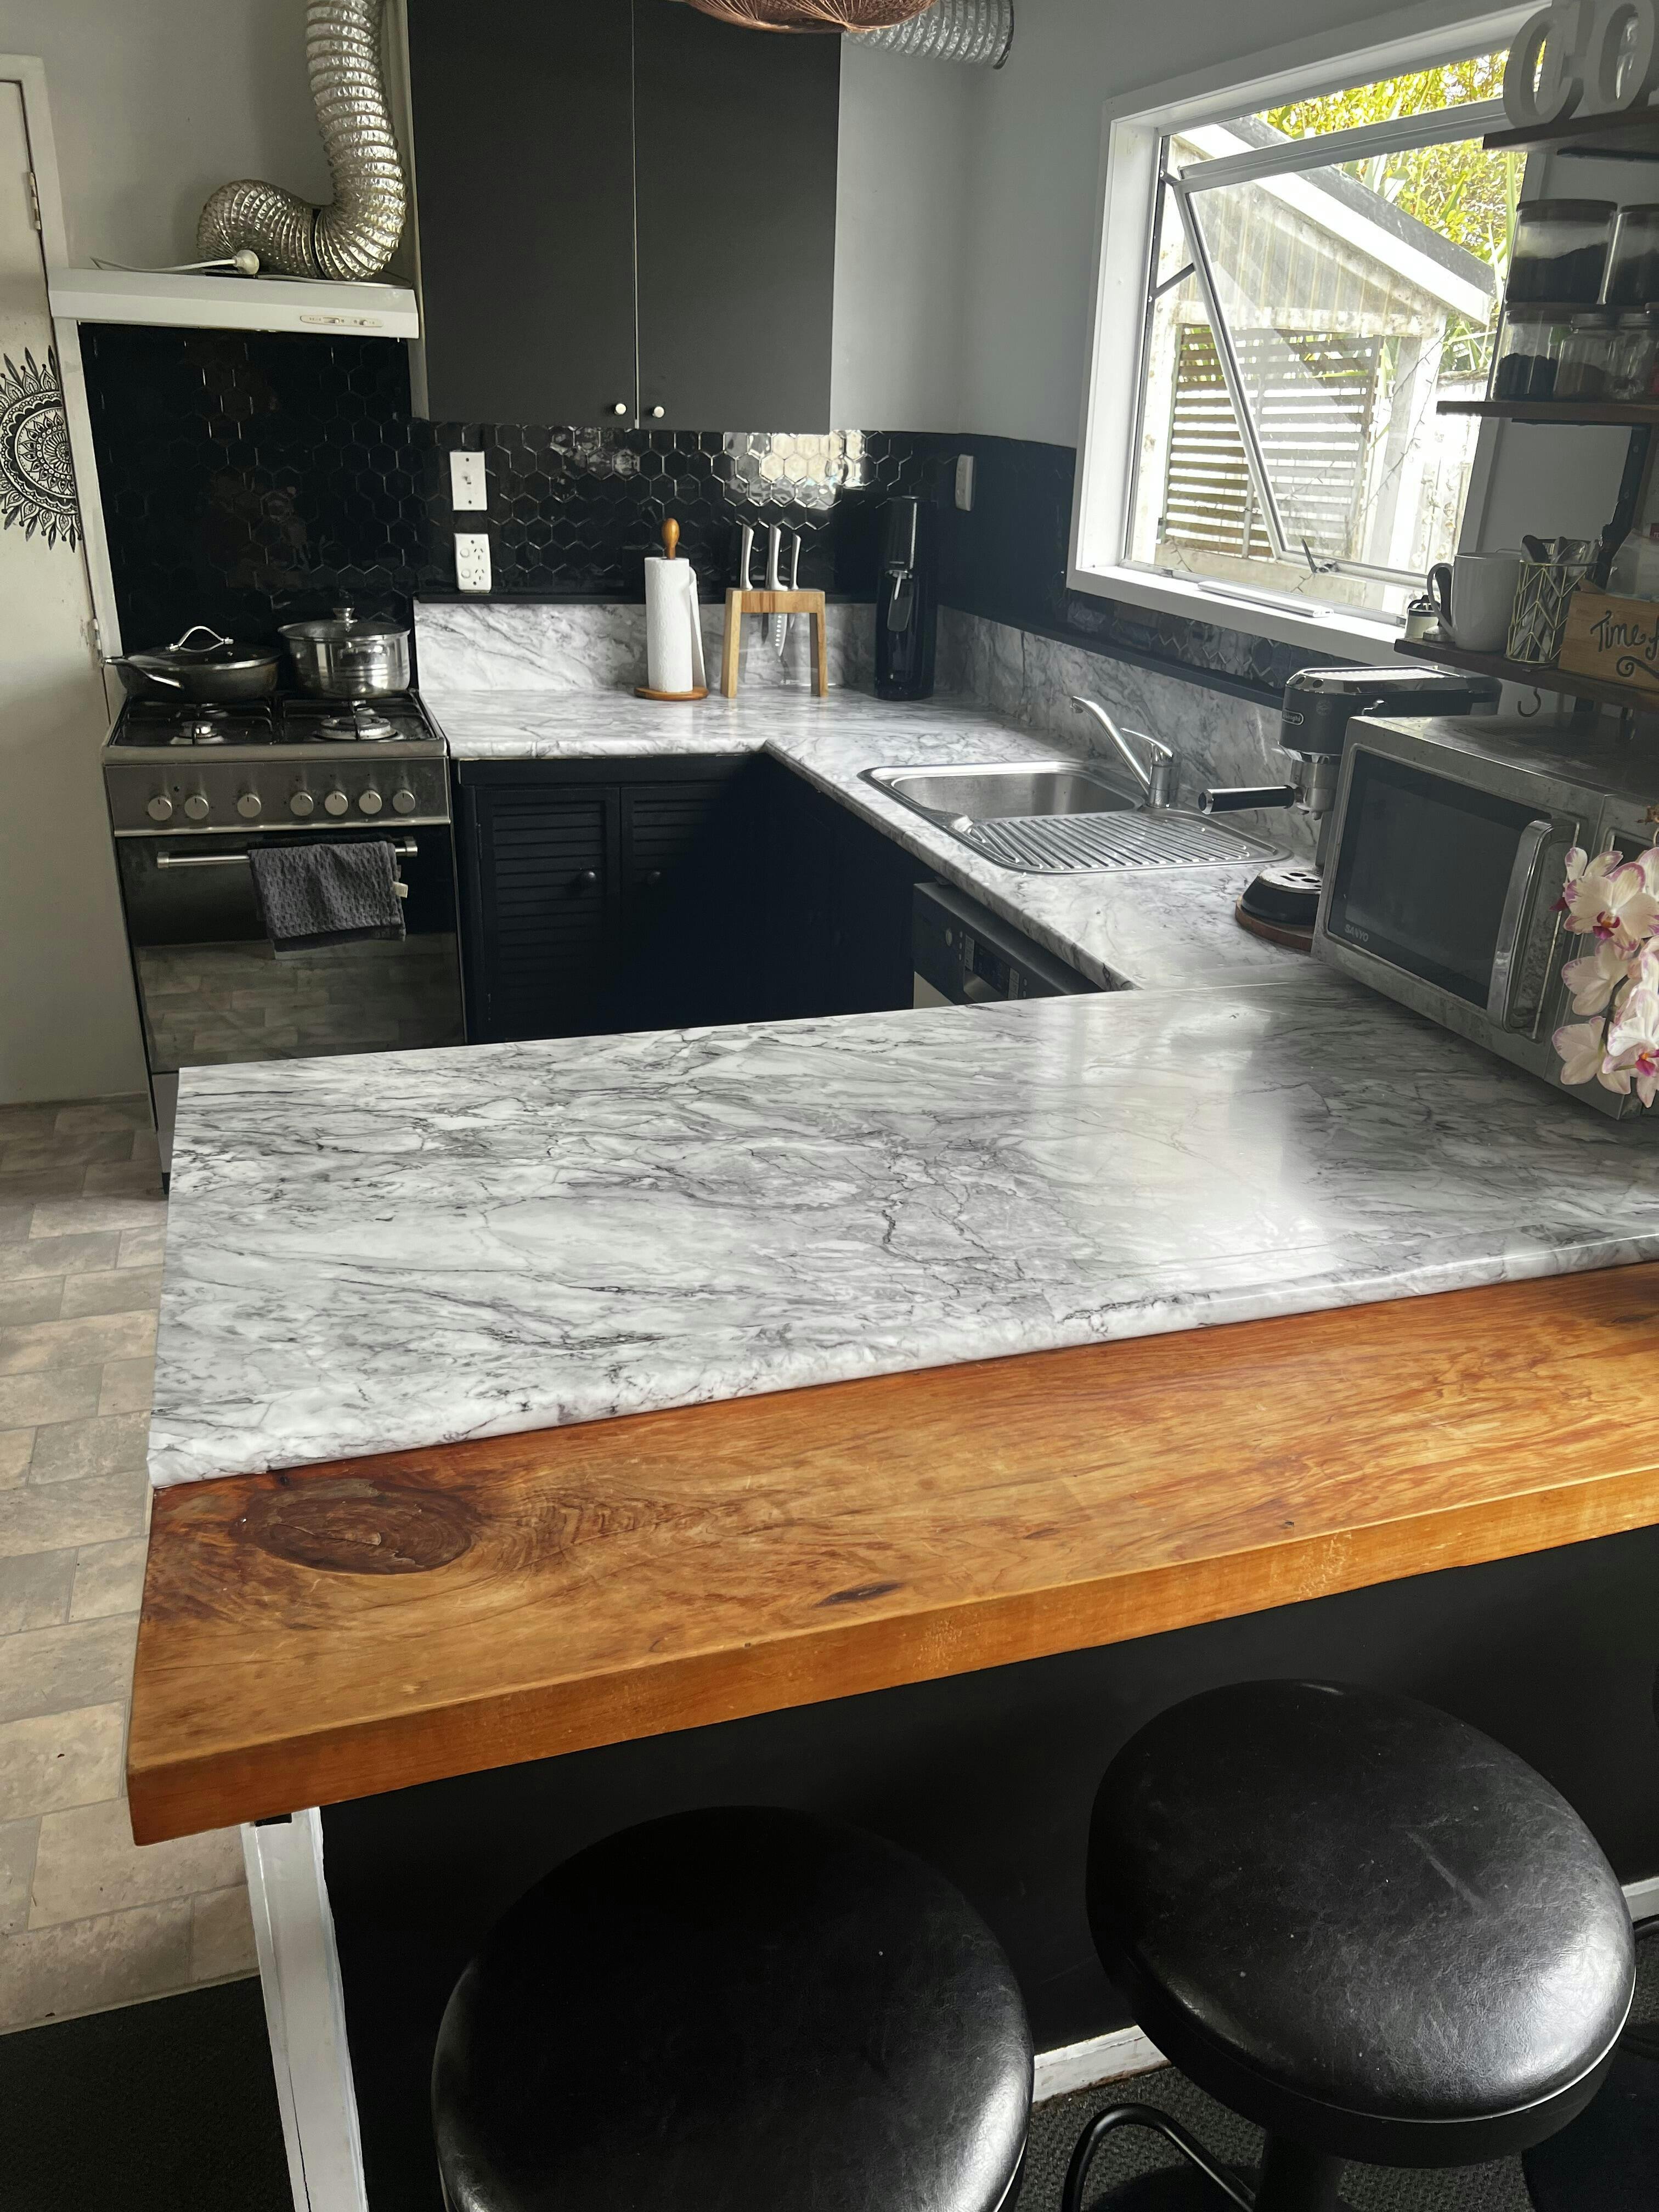
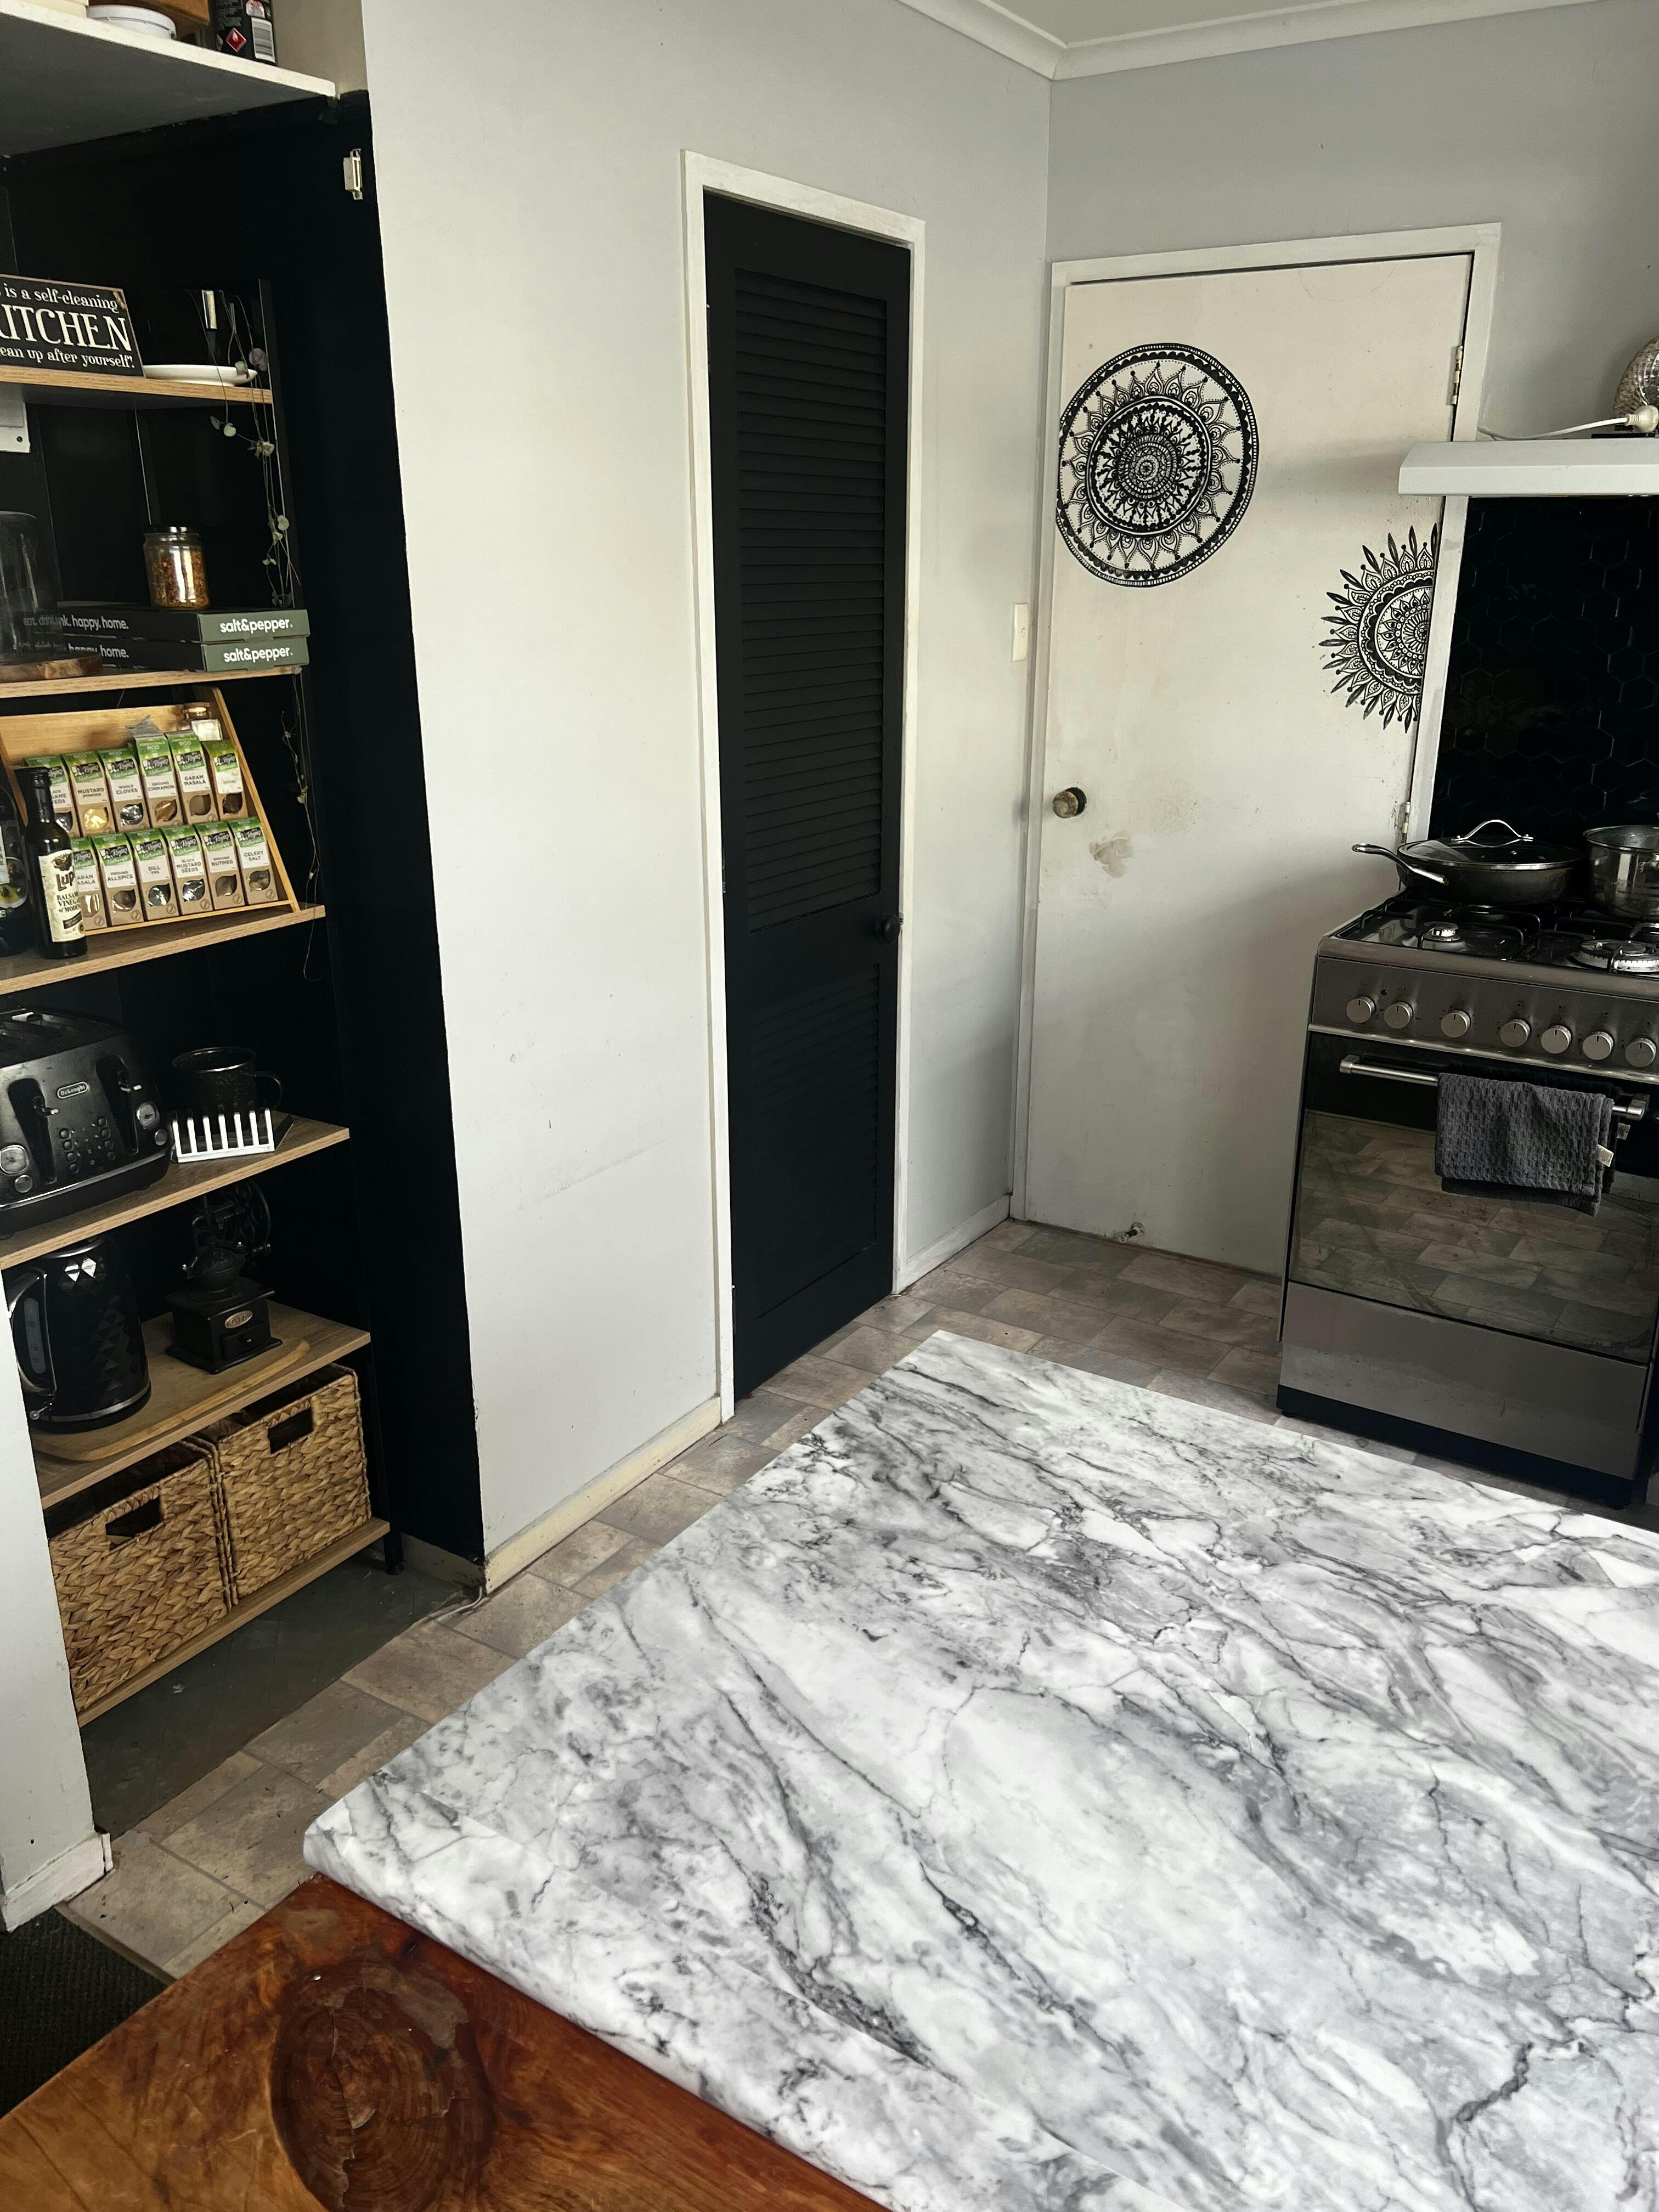
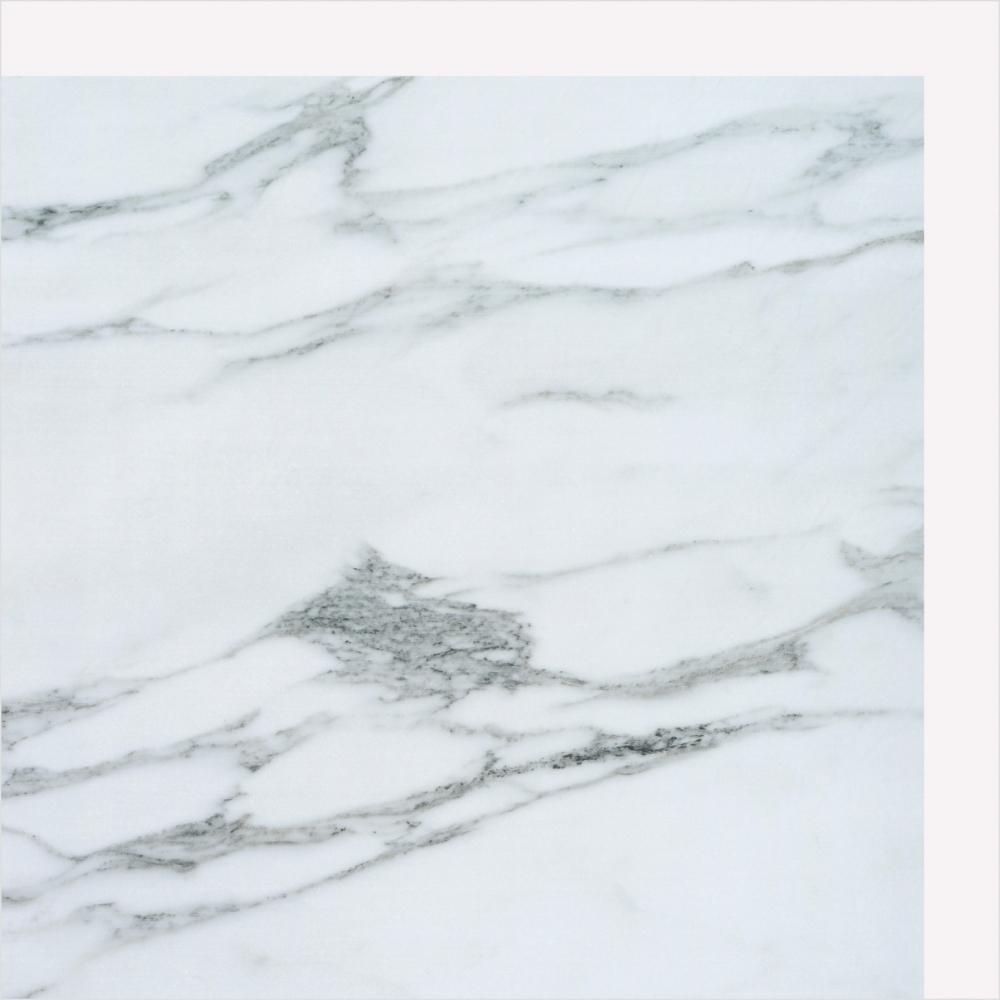
I could overlay the seams as the pattern is very forgiving and you can only see it when the sun shines directly on it.
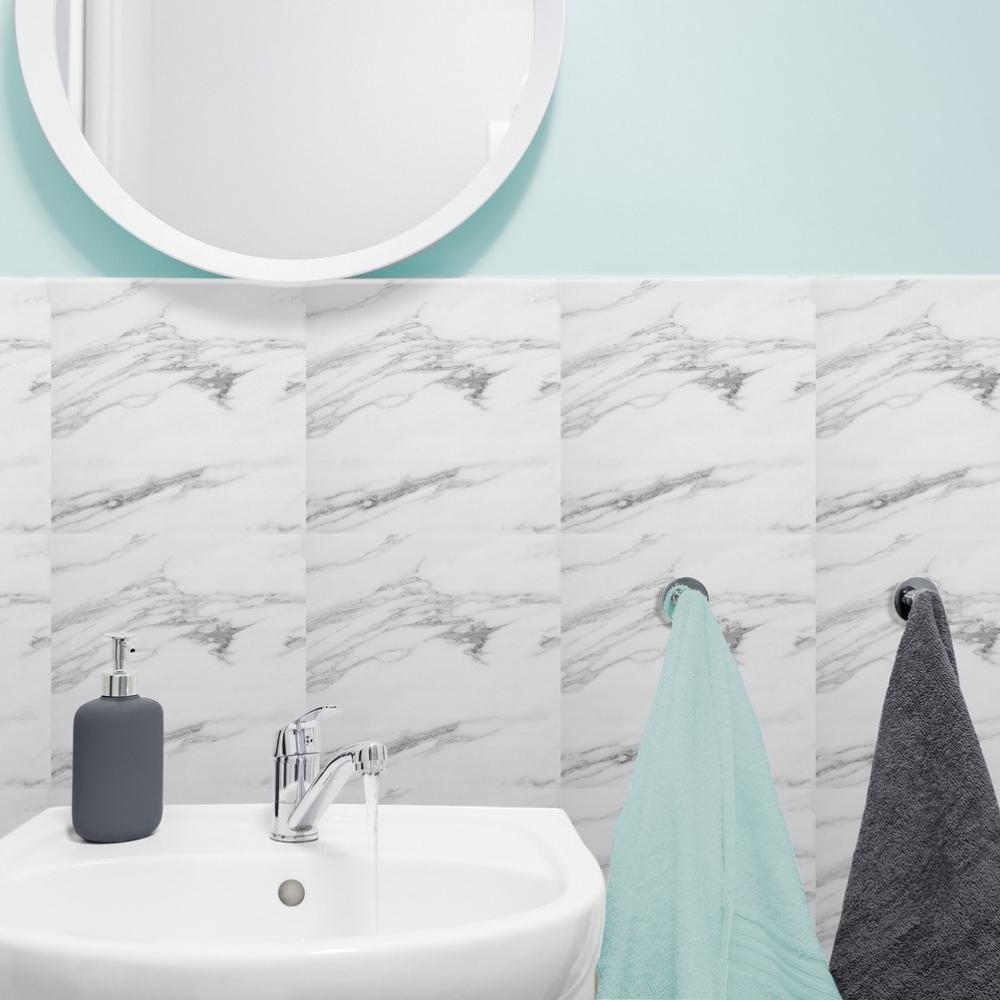
I am very happy with the quality of the product and certainly with the end result as this would have costs thousands if we had replaced the benchtops.
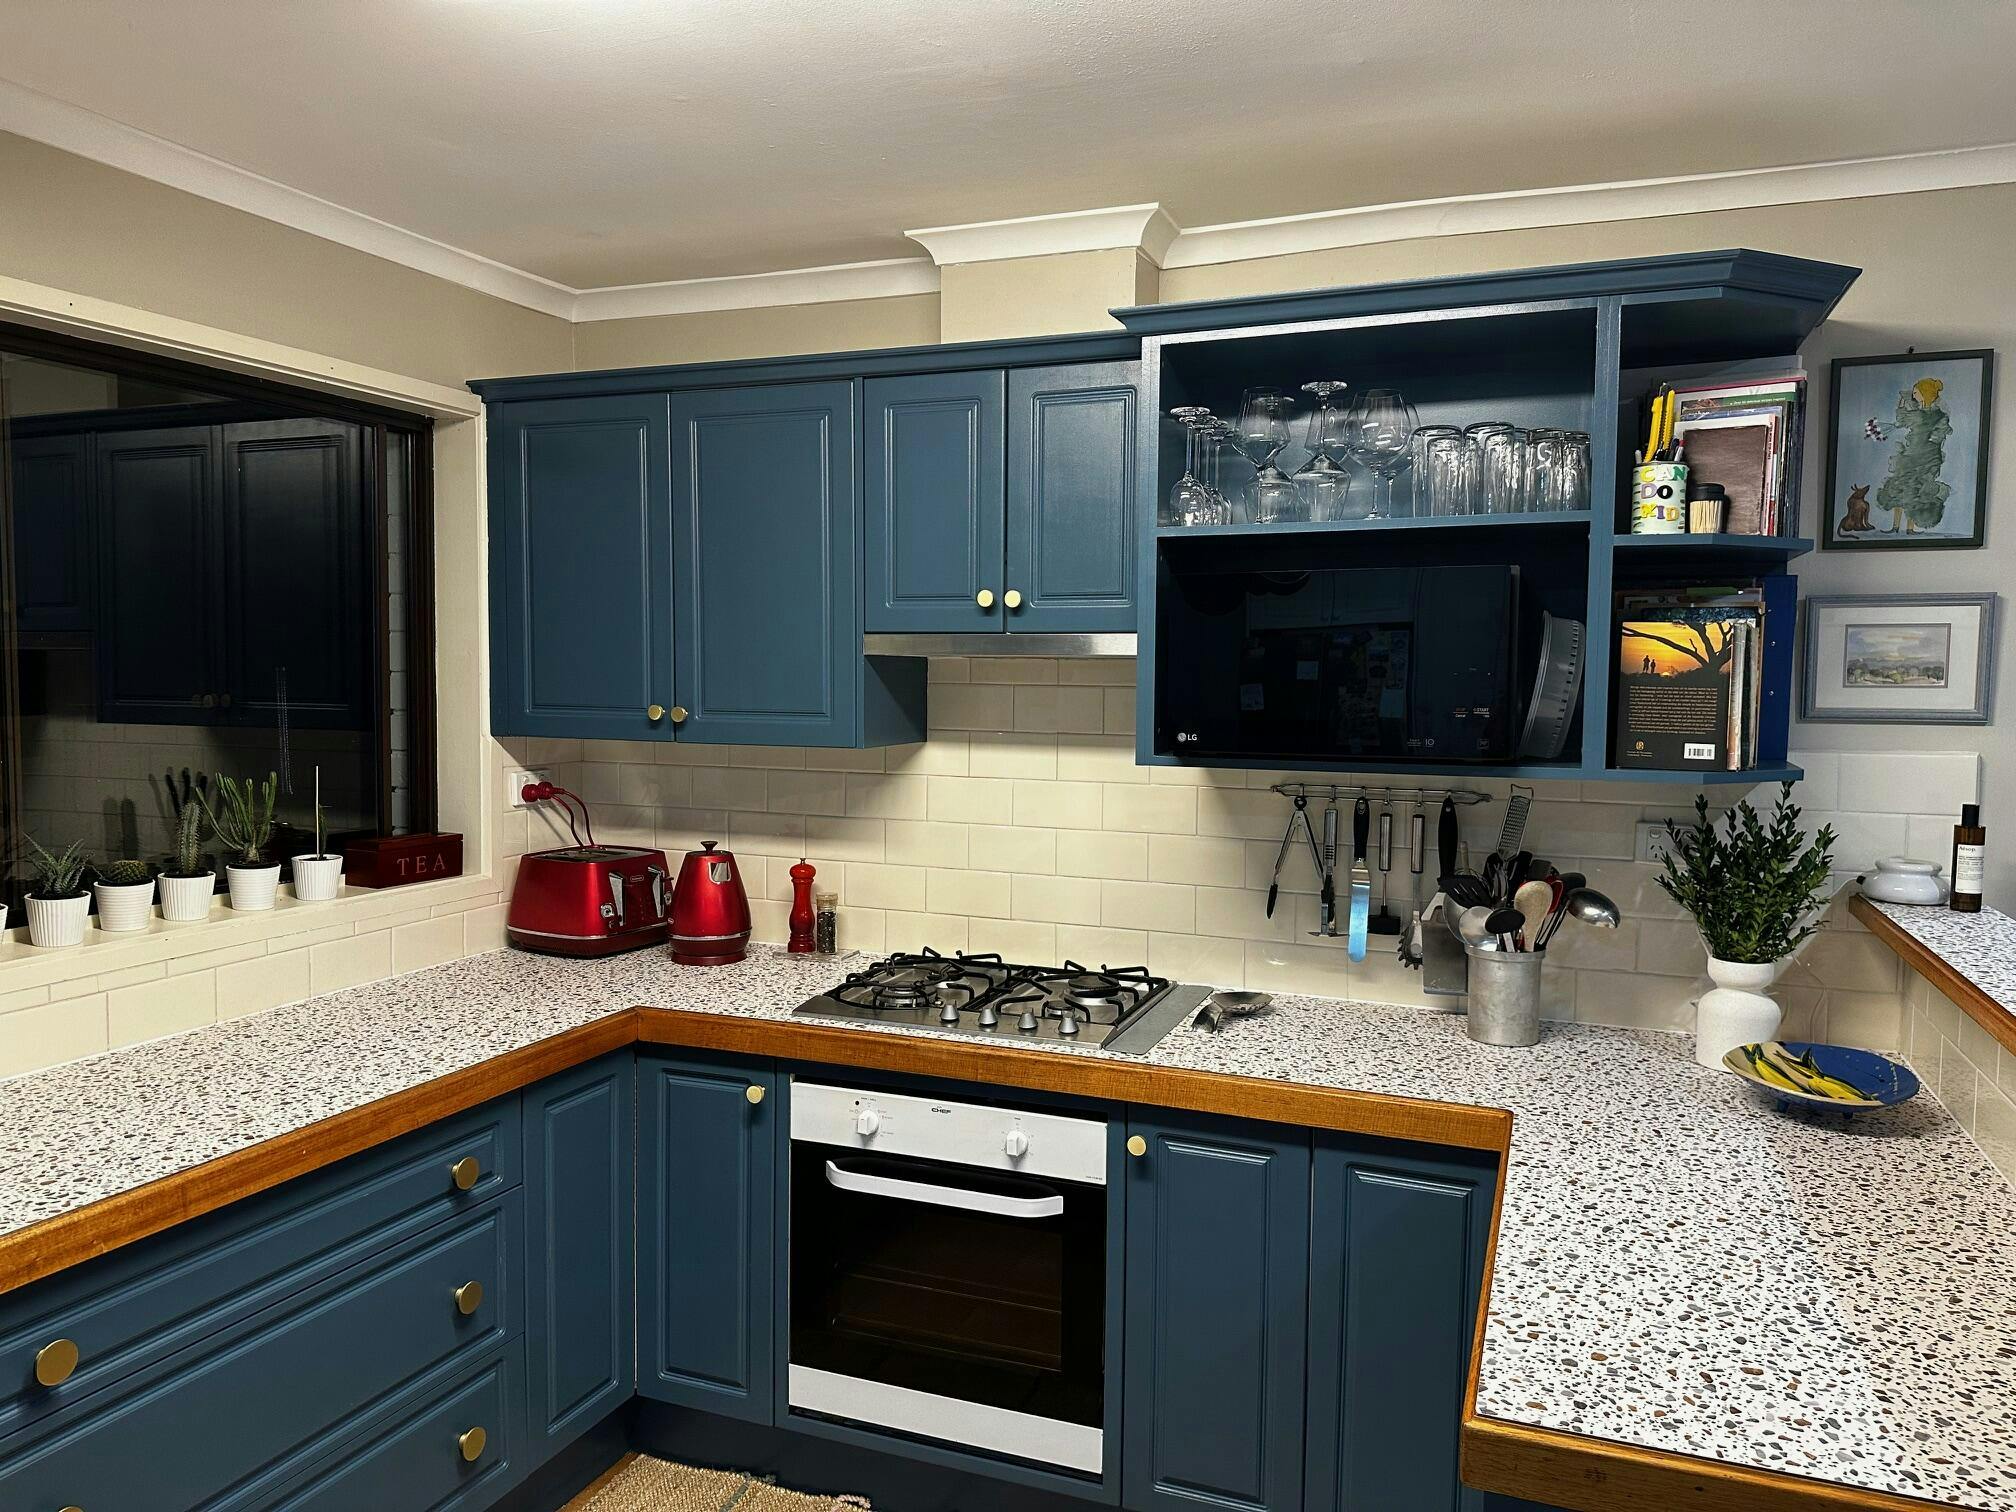
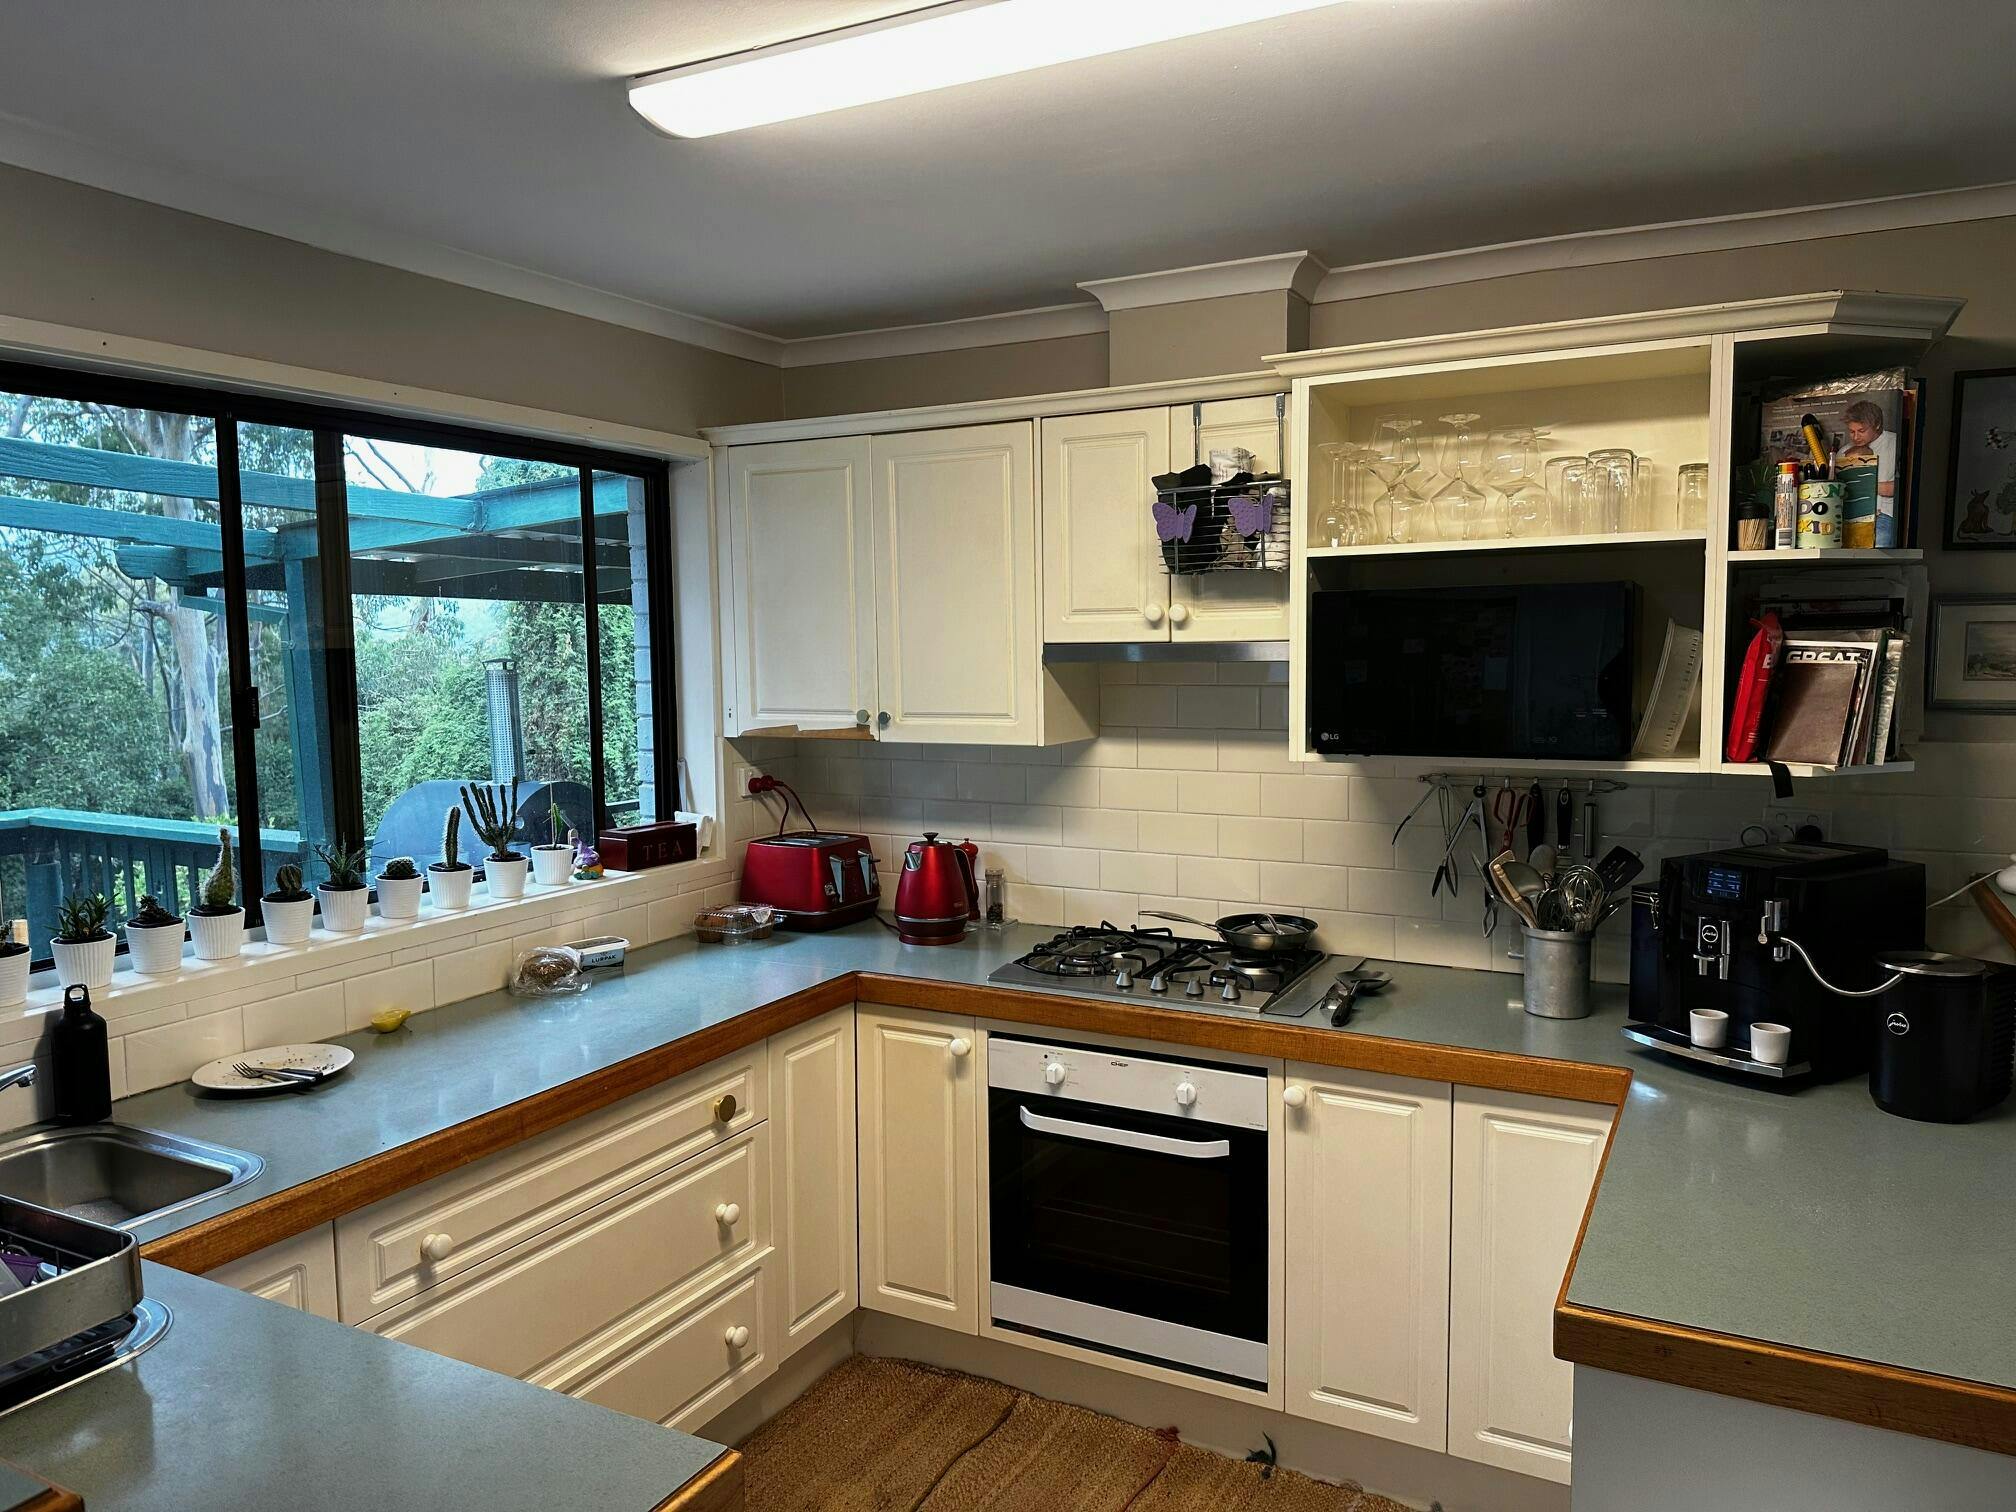
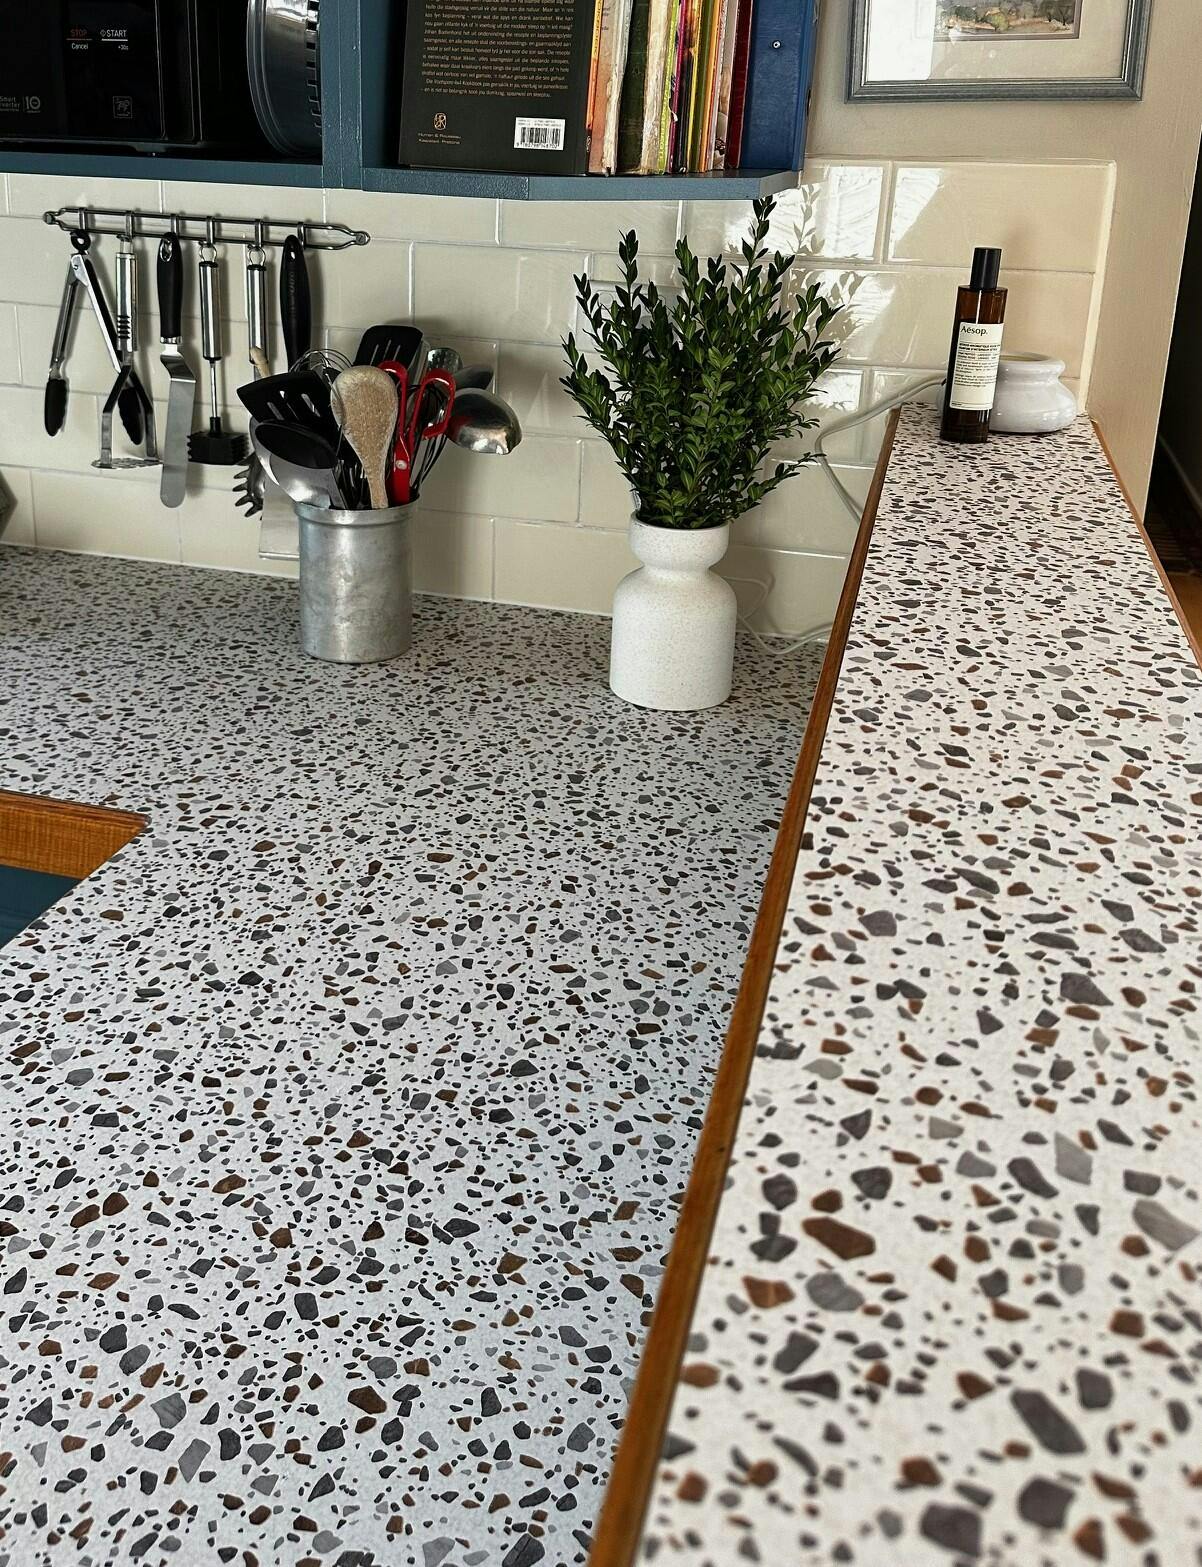
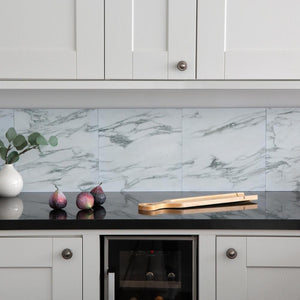
I used the marble Romeo adhesive vinyl on my kitchen benches.
It turned out amazing! and it was so easy to use.
Very good quality and I would highly recommend
I will also be purchasing more in the future when I’m ready to change the look of my kitchen again.


I used the marble look vinyl on my kitchen benchtop. I covered the whole L shape benchtop and all around the sink and everything. It turned out amazing and I will be purchasing more designs in the future when I want to change the look again. This was very easy to use and the quality is great.