FREE NZ delivery over $199, AUSTRALIA: from NZ$15.

Search

Bundle Deals - Tools

Get all the tools you need for your DIY vinyl installation. Buy & Save with our tool bundle deals.

Edge Trims for Wall Tiles

Complete your self-adhesive wall tiling job with smart accessories.

Vinyl Home -Gift Card

Shopping for someone else? Treat them with a DIY gift card and let them select their favourite the design.

Equip yourself with the right tools and take your DIY project to the next level!

Wall Tiles from Smart Tiles - FAQs

A lightweight premium peel and stick tile in 3D design that can be applied on walls and splash backs. It can even go on top of existing tiles. (Please note that our XL and Mega range can not be applied over existing tiles.) It's easy to apply and no special tools are required. Ones applied the tiles look strikingly close to ceramic tiles. 

The tiles are suitable for kitchen, bathroom, laundry room and motorhome splash backs.

Important! If you can't find your installation surface below pleasecontact us before you purchase.

Recommended surfaces include:
-smooth ceramic tiles (this excludes the XL & Mega range)
-smooth glass tiles
-wall panel (acrylic)
-wall linoleum
-mirror
-wallpaper (untextured) 
-painted gib board (after 21-day curing time for fresh paint)

Not recommended surfaces:
-stucco wall
-stone wall
-unfinished wall (gib or plaster)
-unpainted plywood
-porous wood
-relief ceramic tiles
-textured wallpaper
-inside a shower
-floors
-bench tops
-ceilings
-brick wall

1. CLEANING: Wash the surface with a powerful grease-remover such as sugar soap. Make sure you allow enough time for the surface to dry properly.
2. GUIDELINE: using a level or chalk line, trace a guideline to ensure perfect alignment using a tile sheet to mark the height of your guideline on the lowest side of the bench top.
3. MEASURING & CUTTING: use a utility knife and a metal ruler to trim and shape your tiles around electrical outlets or other irregularities. Measure and mark your tiles and then lay it on a cutting mat to cut off the unwanted portion.
4. REMOVE THE TABS OF THE FIRST TILE: For all jagged edge models, you must cut off the overlapping tabs of the first sheet to get a straight edge to begin the installation. This will allow you to start in a corner, against a cabinet or to get straight edge ending. 
5. PEEL: Fold back half of the protective paper in the back without touching the adhesive portion with your fingers. We strongly recommend you wash your hands before you start the installation to ensure no dust particles or greasy residue are transferred to the adhesive.
6. ALIGN & STICK: Now align the adhesive portion with your guideline and apply a light pressure. This will allow you to validate the positioning of your tiles. Once you are satisfied with its placement and alignment, you may remove the rest of the protective paper and apply a firm pressure across the entire surface.
7. OVERLAPPING: Once you've successfully installed the first sheet of tiles, you may continue the process making sure you overlap all the grout lines as you go. This will result in a continous and even layout of the entire project.

Watch this short video for more details about the tiles and how to install them.

It's crucial to make sure that the surface is correctly prepared for optimal adhesion and durability. The surface needs to be clean from dust and grease. Make sure that you use a powerful grease remover (e.g. sugar soap) that is recommended for your surface. Let the surface dry completely before application. 
You may want to consider scrubbing painted surfaces with a high grit sandpaper. This will help removing the oily layer and the tiles will stick better to the surface.

The ambient temperature must be between 18°C and 35°C and the self-adhesive tiles should be room temperature. 

Yes you can order samples here.

No, it's not recommended as they cannot adhere properly. If it's an orange peel painted surface, make sure you sand it first so it's smooth. Then apply a primer and allow a minimum of 72 hours for it to dry. Clean the surface with a degreaser like sugar soap before applying the tiles. 

Each sheet varies in size depending on model. They are all 0.18cm thick. Please refer to each model for their individual dimensions. There are no edge pieces. You will need to cut the first and last sheet to make a straight edge. The overlapping is reduced by approximately 10% depending on design. 

Yes they can be removed with little to no damage depending on the surface they've been applied to. Heat them with a hairdryer and pull carefully. Remove any excess glue with warm soapy water or methylated spirits. 

Yes they are slightly bendable and can be used for curved wall areas (e.g. in buses, caravans, camper vans)

Yes the surface of the tiles are waterproof.

Yes they can be used for the splash back or walls in the bathroom and are humidity and water resistant. Let the tiles bond 48h with the surface before exposing them to humidity and water. They are not recommended in the shower.

It's not recommended to use them in the shower. The surface of the tiles are waterproof, but overlapping parts can be weakened in places where there is a lot of water.

Yes the tiles are heat resistant to the heat of a stove once applied and have completely bonded with the surface. This generally takes 48 hours.  It is recommended to prevent direct exposure to an open flame by installing our Smart Panel

Yes the tiles are heat resistant once applied. Allow sufficient time for the tiles to bond with the surface before use - generally 48 hours. They are not easily damaged by hot oil. If installed behind a gas range without a protective rear panel, allow a length of 20cm above the surface to prevent the tiles from coming in contact with open flame. We recommend to use our Smart Panel to protect from direct exposure of open flames. For bench top appliances like toasters, mini ovens and similar make sure to keep a minimum distance of 6cm between the tiles and the appliance. Please note that the tiles needs to be out of reach for direct steam (e.g. from the oven) as they are not steam resistant. Always refer to your stove top installation manual regarding correct safety clearance. 

No they are not. Do not apply Smart Tiles so that they are in direct reach of steam (e.g. from an oven). 

Yes some of our tiles can be used on existing ceramic tiles. The smaller the Smart Tiles the less any imperfections like grout lines etc will shine through. The XL and Mega range are not suitable to cover existing ceramic tiles with. If you decide to do so make sure that you cover up the grout lines first to a smooth and sleek surface with a pale colour. 

There are some key factors to a successful installation
1. Go slowly and don't rush the process
2. Measure twice and cut once. If unsure cut off less than you think and then just cut off small pieces at the time
3. Create a straight line and make sure to apply the first tile completely straight. Only firmly press down on the tile when you are completely satisfied with the position of the tile
4. Cover the entire grout line when overlapping the tiles. This is particularly important when applying the hexagon design and other smaller tiles with many grout lines. 

Yes they will never yellow or crack and keep their look in the long term

You don't need any special tiling tools but the installation will be easier with the following:
-grease-remover
-pen for marking
-ruler / plain and a level for cutting and marking a straight line
-scissors
-craft knife
-cutting board 

Calculate the surface you need to cover. This is easiest done by splitting each surface into sections as per the picture below. You will find that our product listing says how much each pack will cover. We recommend to add a minimum of 10% extra for wastage. Larger tiles often require more wastage.

We sell the small and medium tiles as 4-pack. Our XL and Mega range are sold as 2-packs. 

To avoid disappointment of an unfinished project we strongly recommend that you calculate the amount of tiles you need for your entire project and order enough tiles for the whole surface. We try as best as we can to always keep sufficient tiles in stock. However, some of the designs from our manufacturer may be limited editions or end of line and therefore we may not always be able to restock. 

Wipe your tiles with a sponge to restore the shine of them. Use a mild non-abrasive household cleaning product like a dish soap or glass cleaner. It's important to note that some spices with high density pigment colour, such as turmeric, can stain the tile permanently. 

The subway tiles include 18 bricks ( 7.62 x 3.81cm) on one sheet and they are symmetrical stacked. The metro tiles include 8 bricks (10.16cm x 5.08cm) on one sheet and are staggered differently. 

Smart Tiles can be installed on a surface up to 49°C. Make sure it's not in contact with a heat source or an open flame.

For overlapping models, join two Smart Tiles at the corner. For straight models position the grout line directly on the corner. This means you don't apply any unnecessary pressure on the Gel-O.

Measure the outlet and cut the tile to size. Use a craft knife when you cut.

Fill any empty sections between panels with plaster and sand it to a smooth finish. Make sure you cover the entire surface with a primer and let it dry for a minimum of 72 hours. If paint is used, you will need to wait for a minimum of 21 days to make sure it's completely dry. 

Sand it to a smooth finish. Make sure you cover the entire surface with a primer and let it dry for a minimum of 72 hours. If paint is used, you will need to wait for a minimum of 21 days to make sure it's completely dry. 

Use a level and draw a horizontal line on the wall of the hight of the first row of tiles. The glue takes a little while to kick in so the tiles are easy to reposition during application if needed, if firm pressure has not already been applied. 

Yes for extra protection it can be advantageous to use a caulk or silicone. 

Smart Tiles are certified NFPA (ASTM E84) and IBC Class B.

Smart Tiles have been tested for volatile organic compounds and aldehydes (VOCs) under ISO 16000 which classifies emission rate from A+ to C (A+ indicating a very low level of emissions and C a high level of emissions). Smart Tiles have been certified as A+ meaning very low level of emissions.

Smart Tiles are made of an adhesive substrate topped with a gel component called Gel-O™ (which gives it its 3-dimensional look).

Smart Tiles are manufactured in Canada.

If you have used a primer on your wall, make sure that you allow enough time for it to cure before applying the tiles. The curing time for a primer is normally around 72 hours. A primer will make untreated surfaces like plywood, plaster and gib more uniform. Most primers are fine but don't use Zinsser as some chemical components may effect the adherence of the tiles. 
If you decide to paint your wall you will need to prime it first. Wait at least 21 days until you apply the tiles to allow enough time for the paint to dry completely. Auroa  by Benjamin Moore is the only known paint to avoid that may harm the adherence of the tiles. 

Smart Tiles® will stick on your walls for as long as you wish them to. That's our guarantee! We offer replacement of defective Smart Tiles following file investigation and depending on certain conditions. Smart Tiles® also guarantee the products for a period of thirty (30) days starting from the date of purchase and applies only to design or manufacture defects, excluding any hue or colour change and labour expenses. For the warranty to be valid, the manufacturer installation recommendations must be followed.

-Wait a period of three weeks before affixing Smart Tiles on a freshly painted wall to allow the paint to penetrate and dry thoroughly.
-The surface must be smooth and undamaged.
-The surface must be clean and dry.
-You should clean the surface with a degreaser such as sugar soap.
-During installation, the ambient temperature must be at least 18°C and should not exceed 35°C.
-Smart Tiles should not be exposed to direct steam, or be in direct contact with a heat source and should not be submerged in water (do not install in the shower).
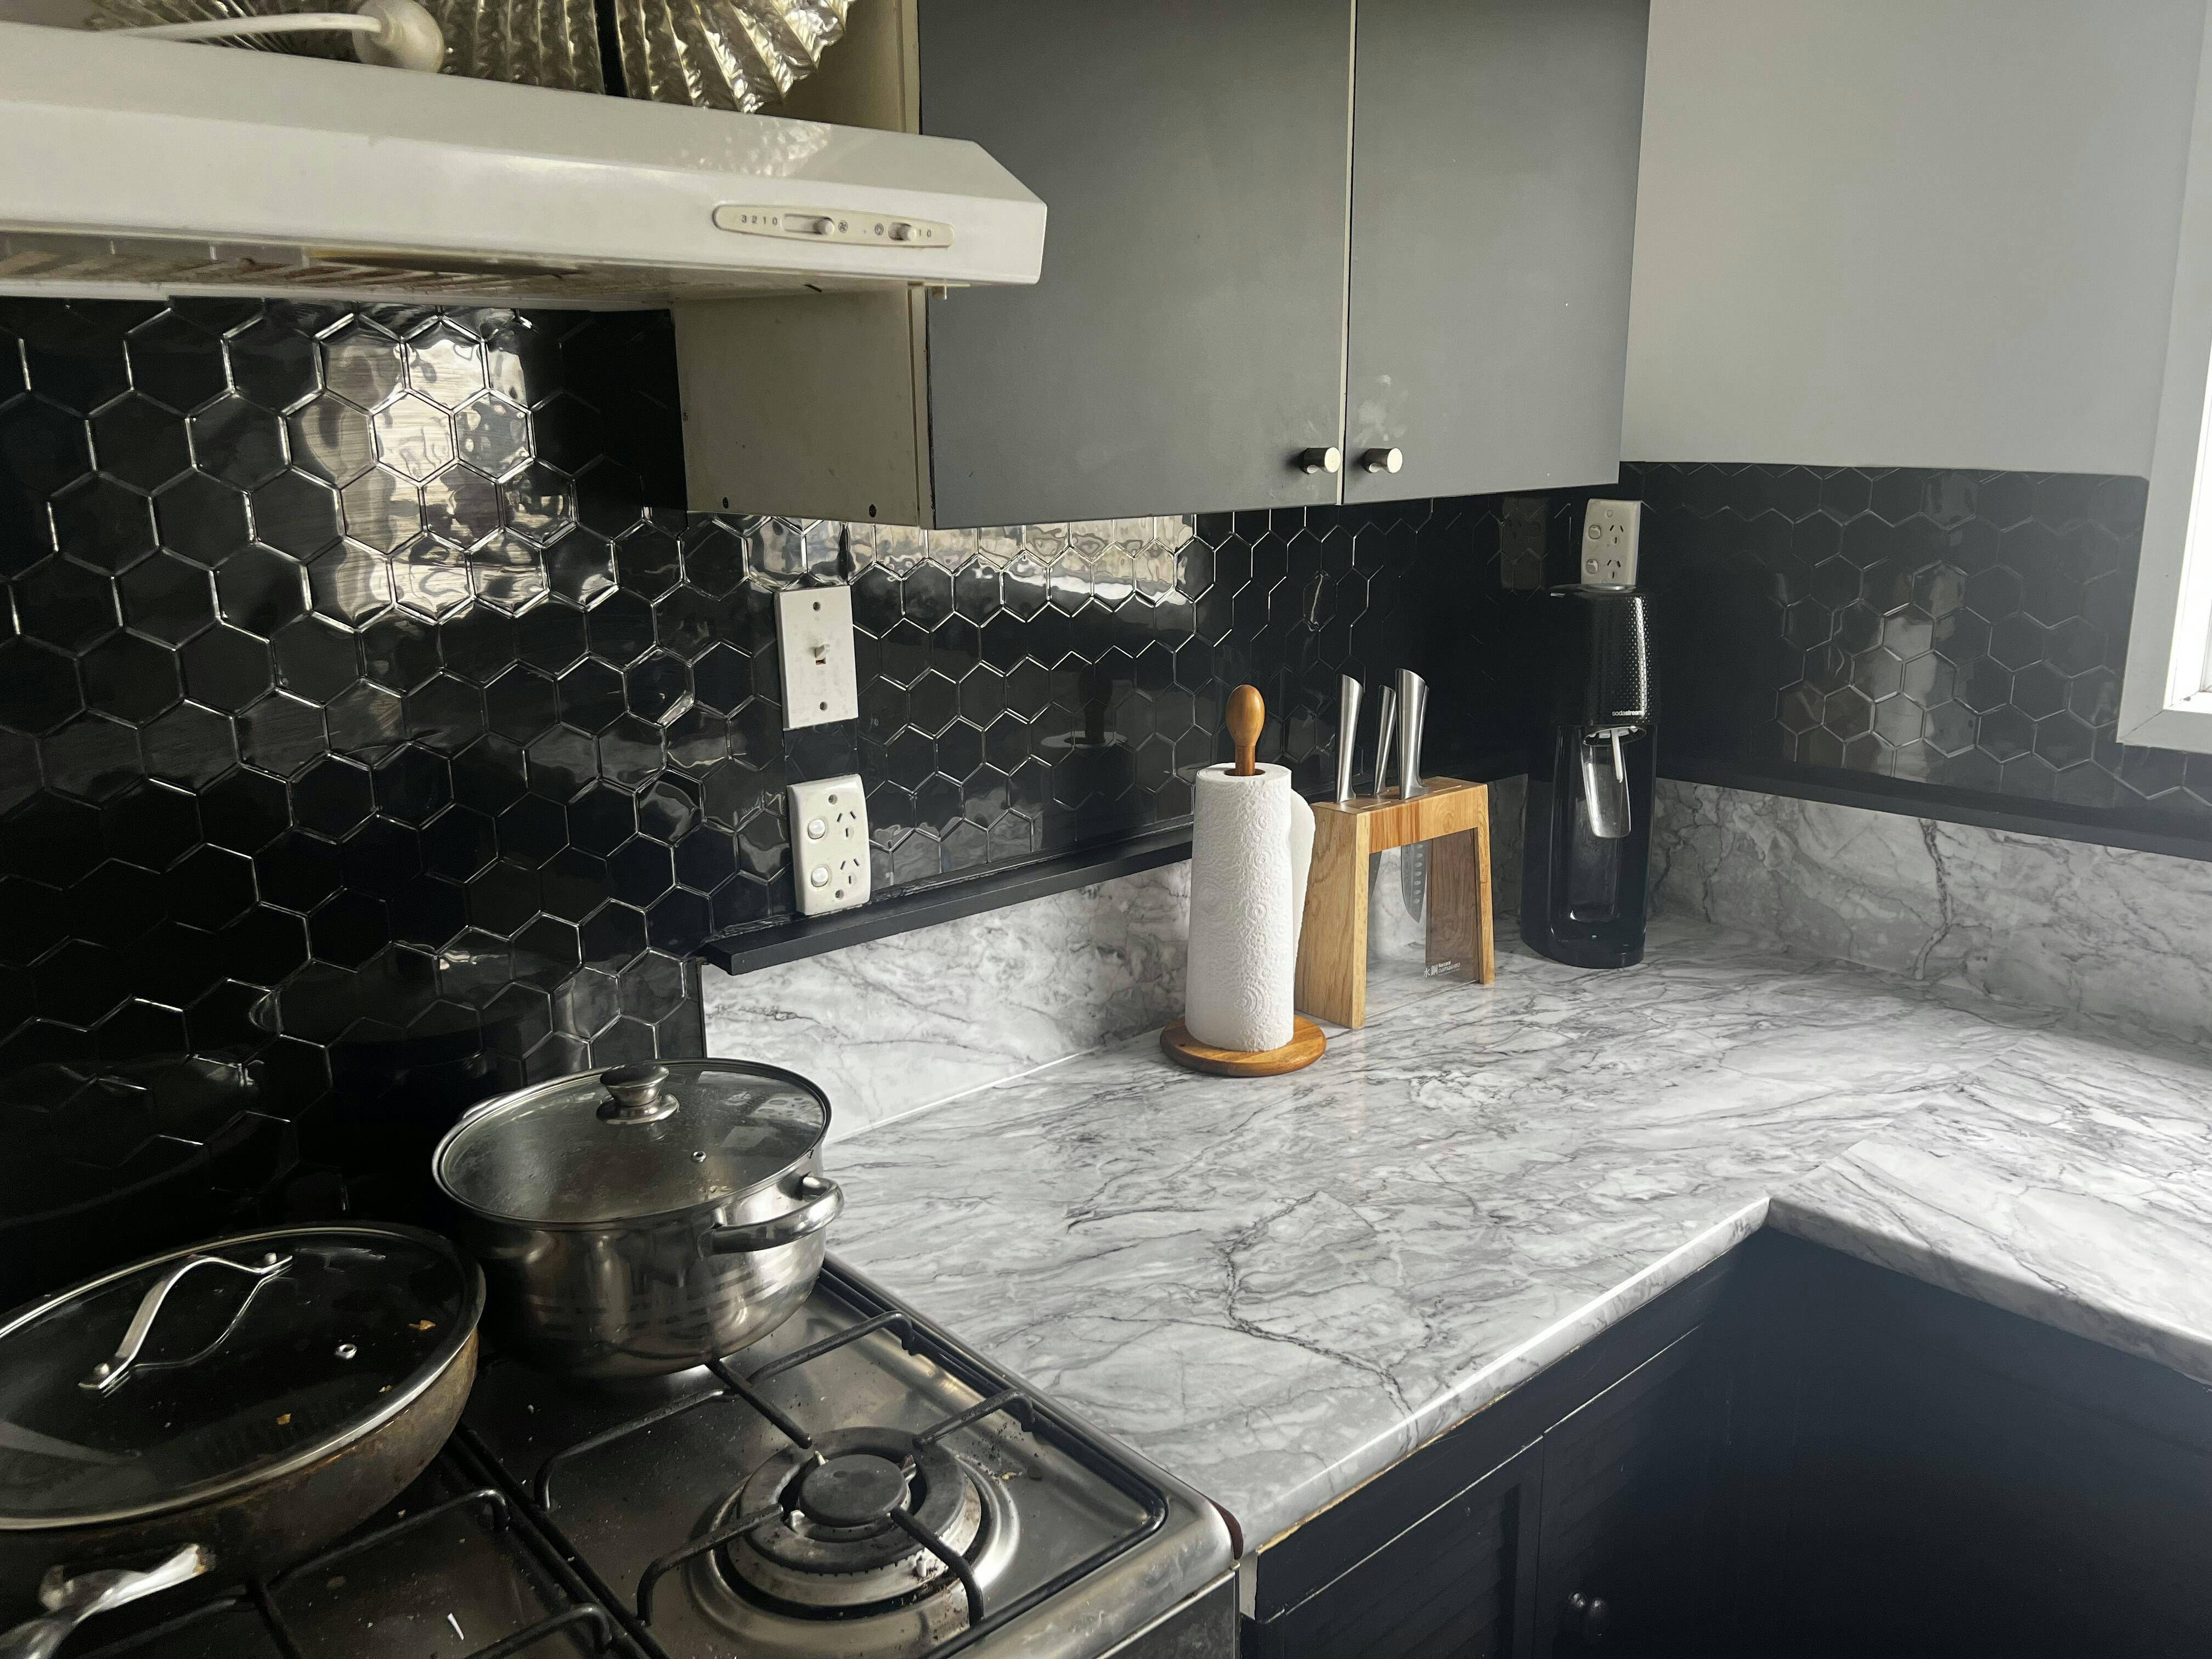
-To install behind a gas range without a protective rear panel, allow a height of 20 centimetres above the surface to prevent the tiles from coming in contact with open flame and we recommend to install our Smart Panel. If there is a wall to the right or left side of the range, Smart Tiles must be installed at least six centimetres away.
-Keep a distance of at least six centimetres between an oven toaster grill and wall covered with Smart Tiles.
-If you decide to remove the Smart Tiles once they have been firmly applied, they cannot be reused.
-Smart Tiles are not designed to cover floors, countertops or work surfaces, or to serve as a trivet.
-For maintenance, you should only use a mild non-abrasive product.

Sorry we don't. We import standard designs straight from the manufacturer and can not create custom designs. However our manufacturer has a wide variety of designs so if you can't find a particular style or colour on our website there is still a great chance that we can source it for you.

Sorry we can't split any packs of tiles. Our warehouse is not clean enough to store half packs. 

Sorry all our samples are already cut to size. Please note that they are not suitable to use as a replacement for the tiles. The samples are hand cut and there is no guarantee for straight edges.

Search

FREE SHIPPING over $199 in NZ
PROUDLY NZ owned & operated
SECURE checkout
ORDERS SHIP in 1 business day
PREMIUM trusted brands
EASY INSTALLATION FREE tutorials
REPOSITION-ABLE low tack glue
NZ owned & operated
REWARDS earn points & save $$
ORDERS SHIP in 1 business day
FREE SHIPPING over $199 in NZ
SECURE checkout
PREMIUM TRUSTED BRAND
EASY INSTALLATION
REPOSITION-ABLE
NO GROUT NEEDED
EASY TO CLEAN
HEAT & HUMIDITY RESISTANT
APPLY OVER EXISTING TILES
GUARANTEED TO STICK